
How Are Edible Logo Cookies Made?
- Michelle | Malibu Cookies
- 6 days ago
- 1 min read
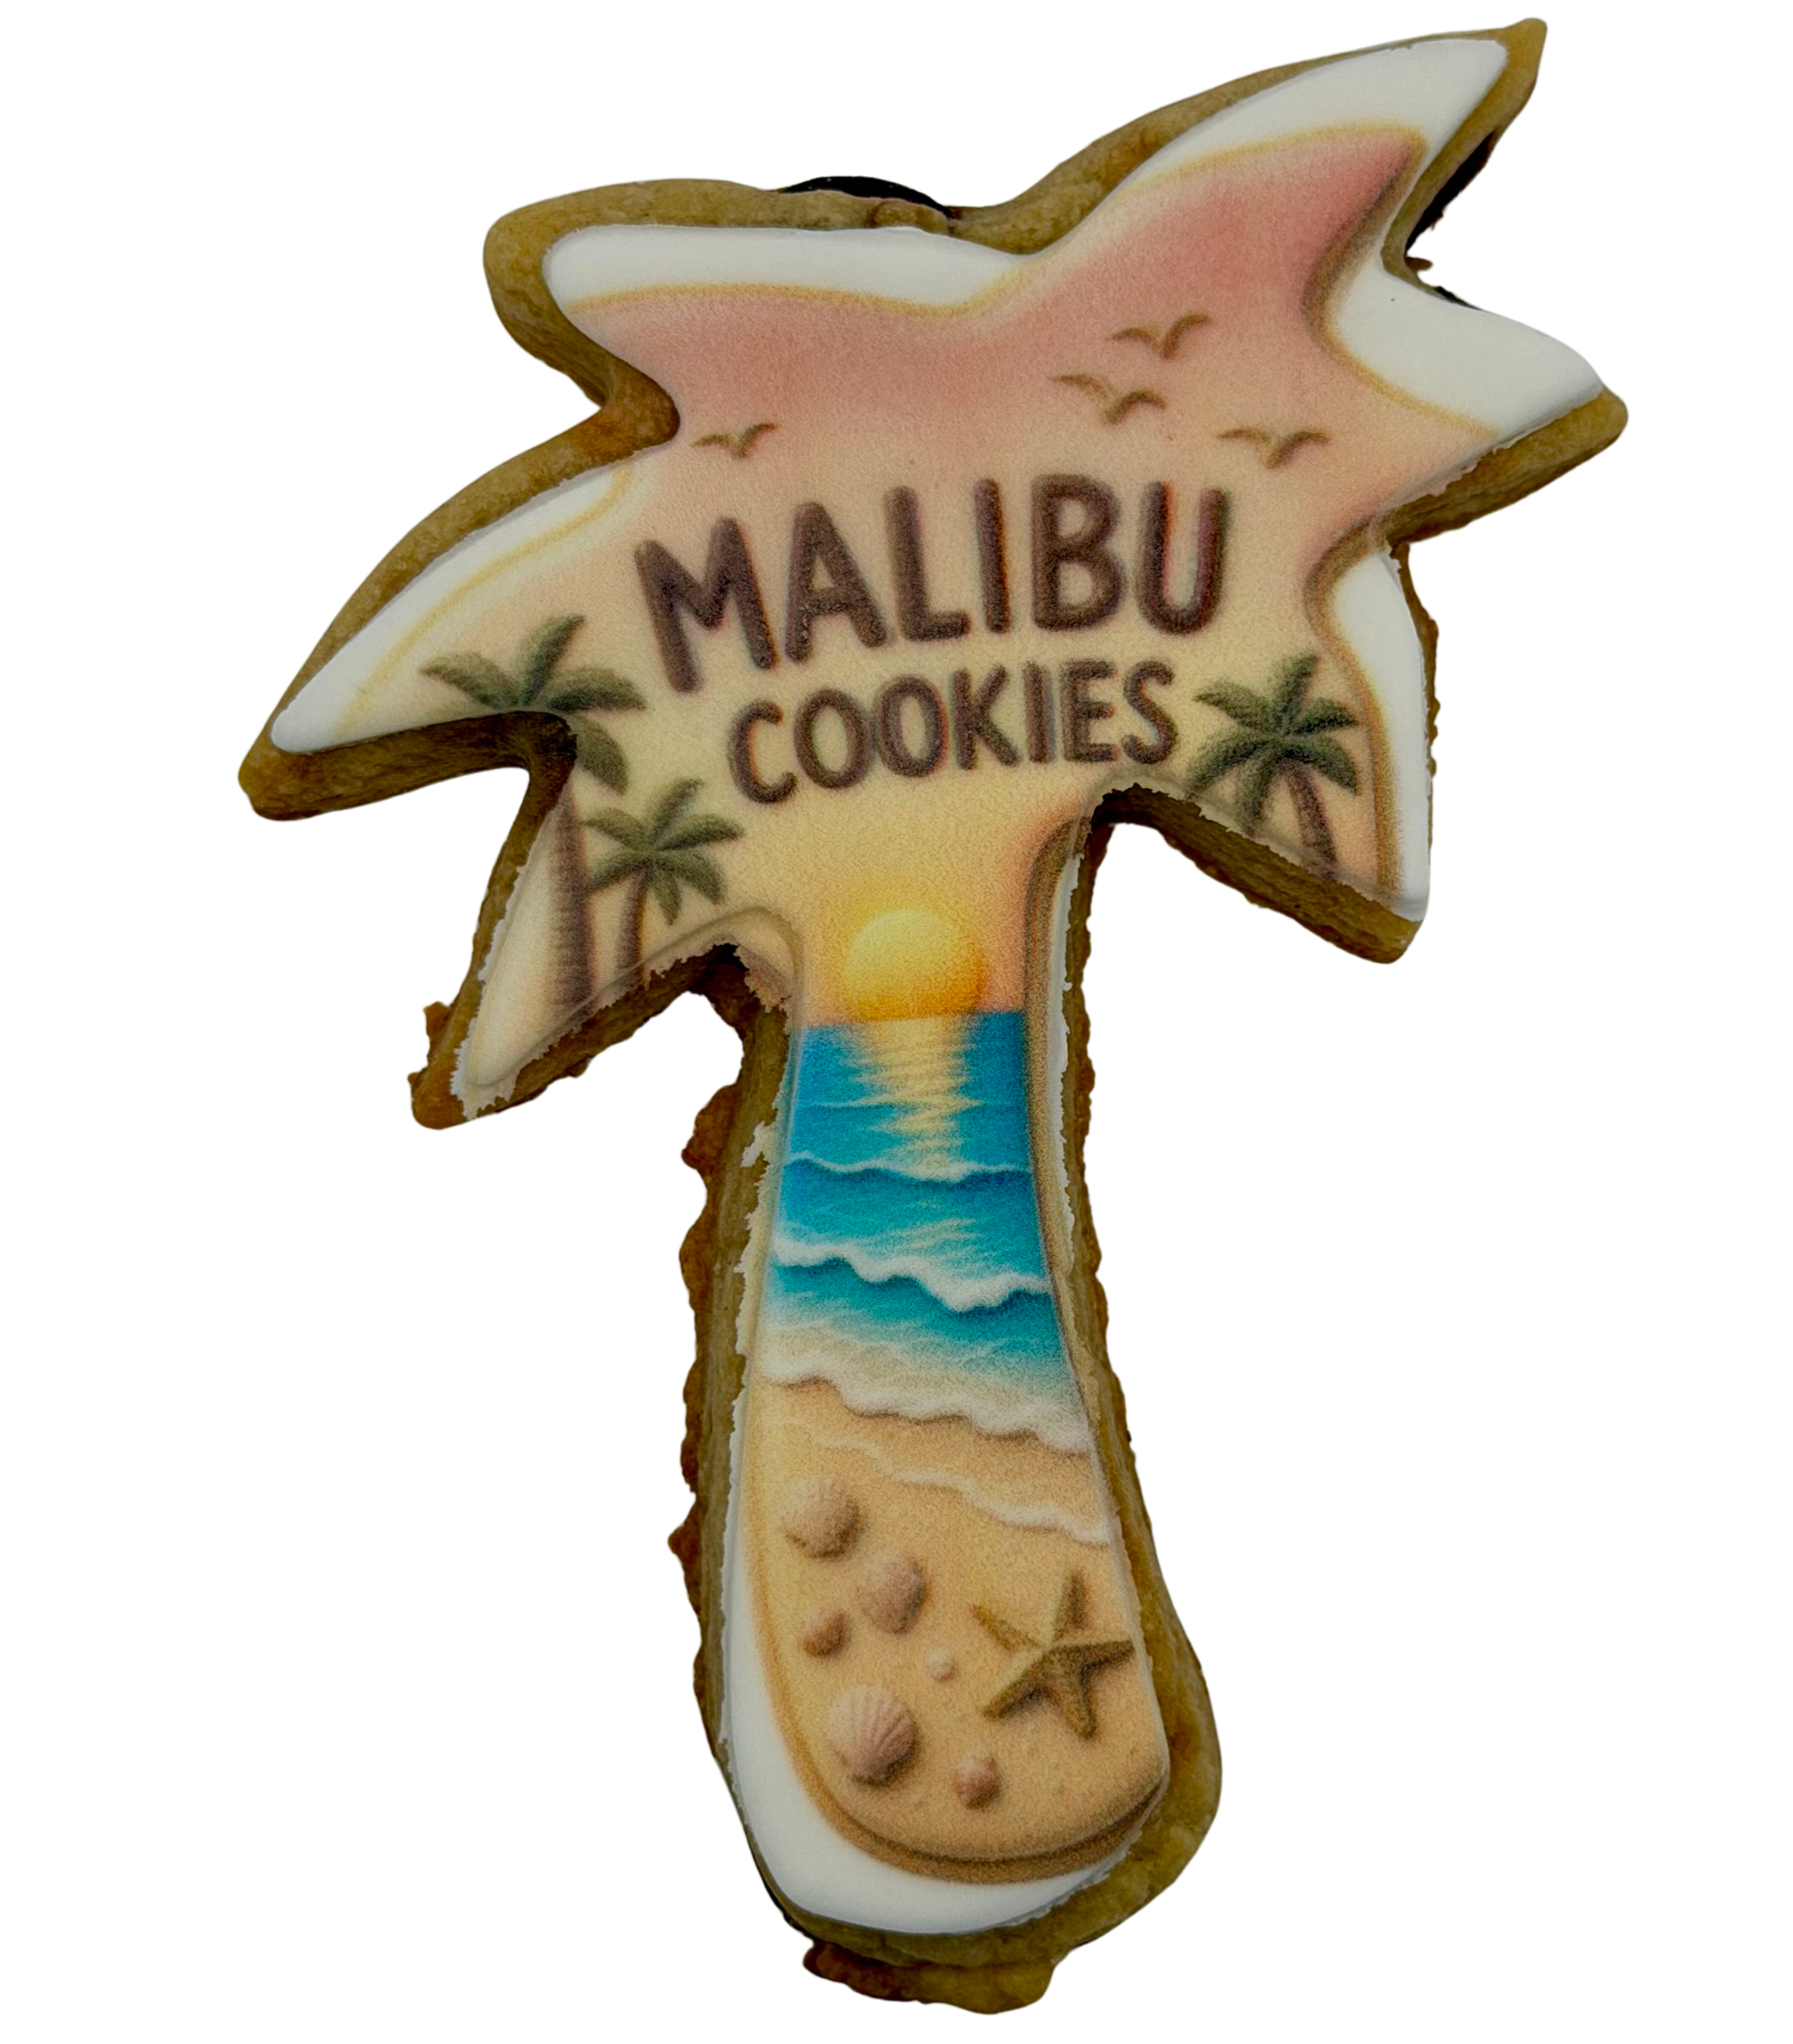
Ever wondered how a photograph or company logo ends up on a cookie?
The process is a little bit technology, a little bit design, and a lot of baking.
Step 1: Start With the Design
The process begins with artwork.
This might be:
A company logo
Photograph
Illustration
Wedding invitation
Product image
Custom graphic
Personalized message
The better the original artwork, the better the final printed result can be.
Step 2: Prepare the Cookie
The cookie itself is baked and prepared for the edible design.
For printed cookies, a smooth, light-colored surface is ideal because it allows the artwork to show clearly.
Step 3: Create the Edible Printing
Instead of traditional ink, edible printers use food-safe edible ink designed specifically for printing onto edible surfaces.
The artwork is printed onto the cookie’s fondant - the printable surface.
Step 4: Add Personalization
Depending on the order, cookies can feature different:
Names
Photos
Messages
Logos
Designs
This is what makes custom edible branding so powerful.
A cookie can be created specifically for the event—or even specifically for the person receiving it.
Step 5: Package the Cookies
For events and gifts, cookies can be individually packaged.
This makes them easy to:
Hand out
Display
Put into gift bags
Place at tables
Send home with guests
Ship
Why Edible Printing Is Different
Traditional promotional products put a logo on an object.
Edible printing puts the brand directly into the experience.
Someone doesn’t just see your logo.
They see it, photograph it, taste it, and remember it.
That’s why a custom logo cookie can be much more than dessert.
It can be edible branding.


Comments